Head Swap
One character’s head. Another character’s rigged body.
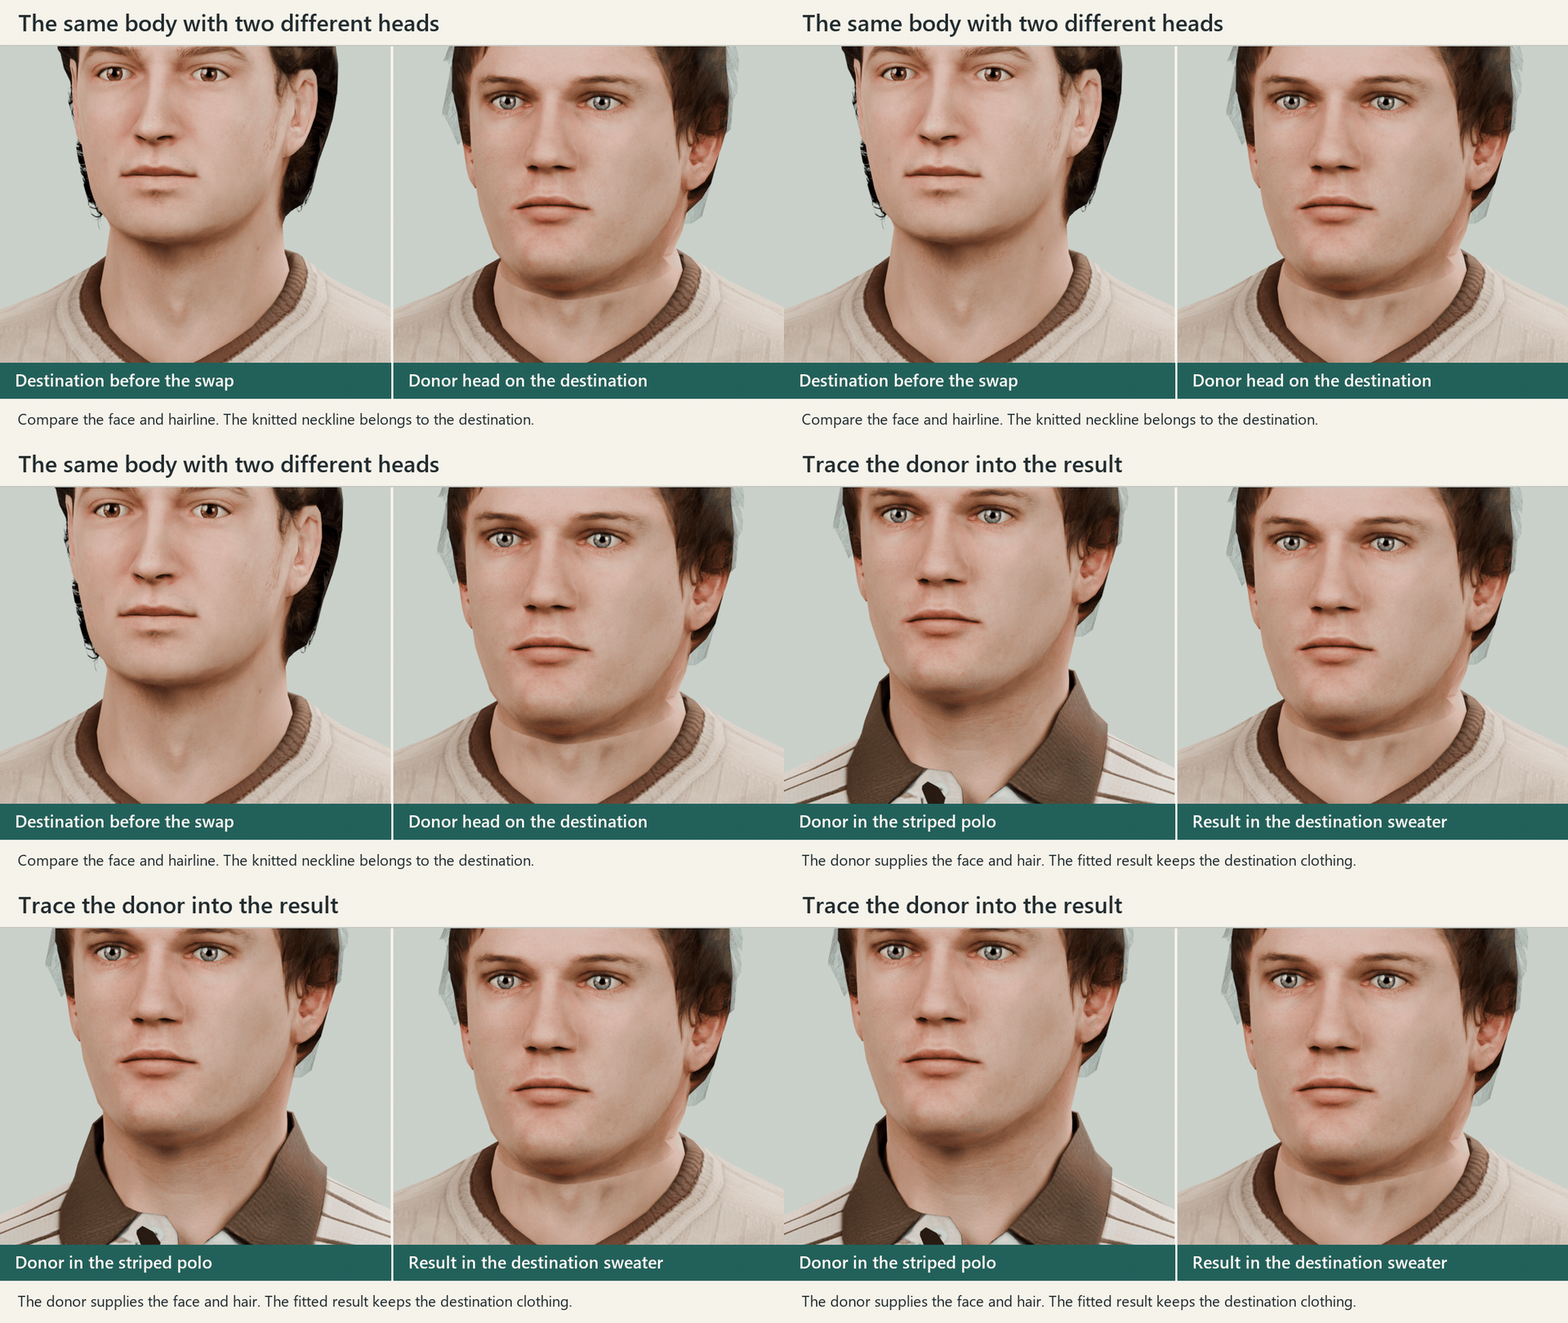
Choose the donor and the body
Pick two rigged avatars, detect their bones and review the source and target mapping. The destination supplies the body.
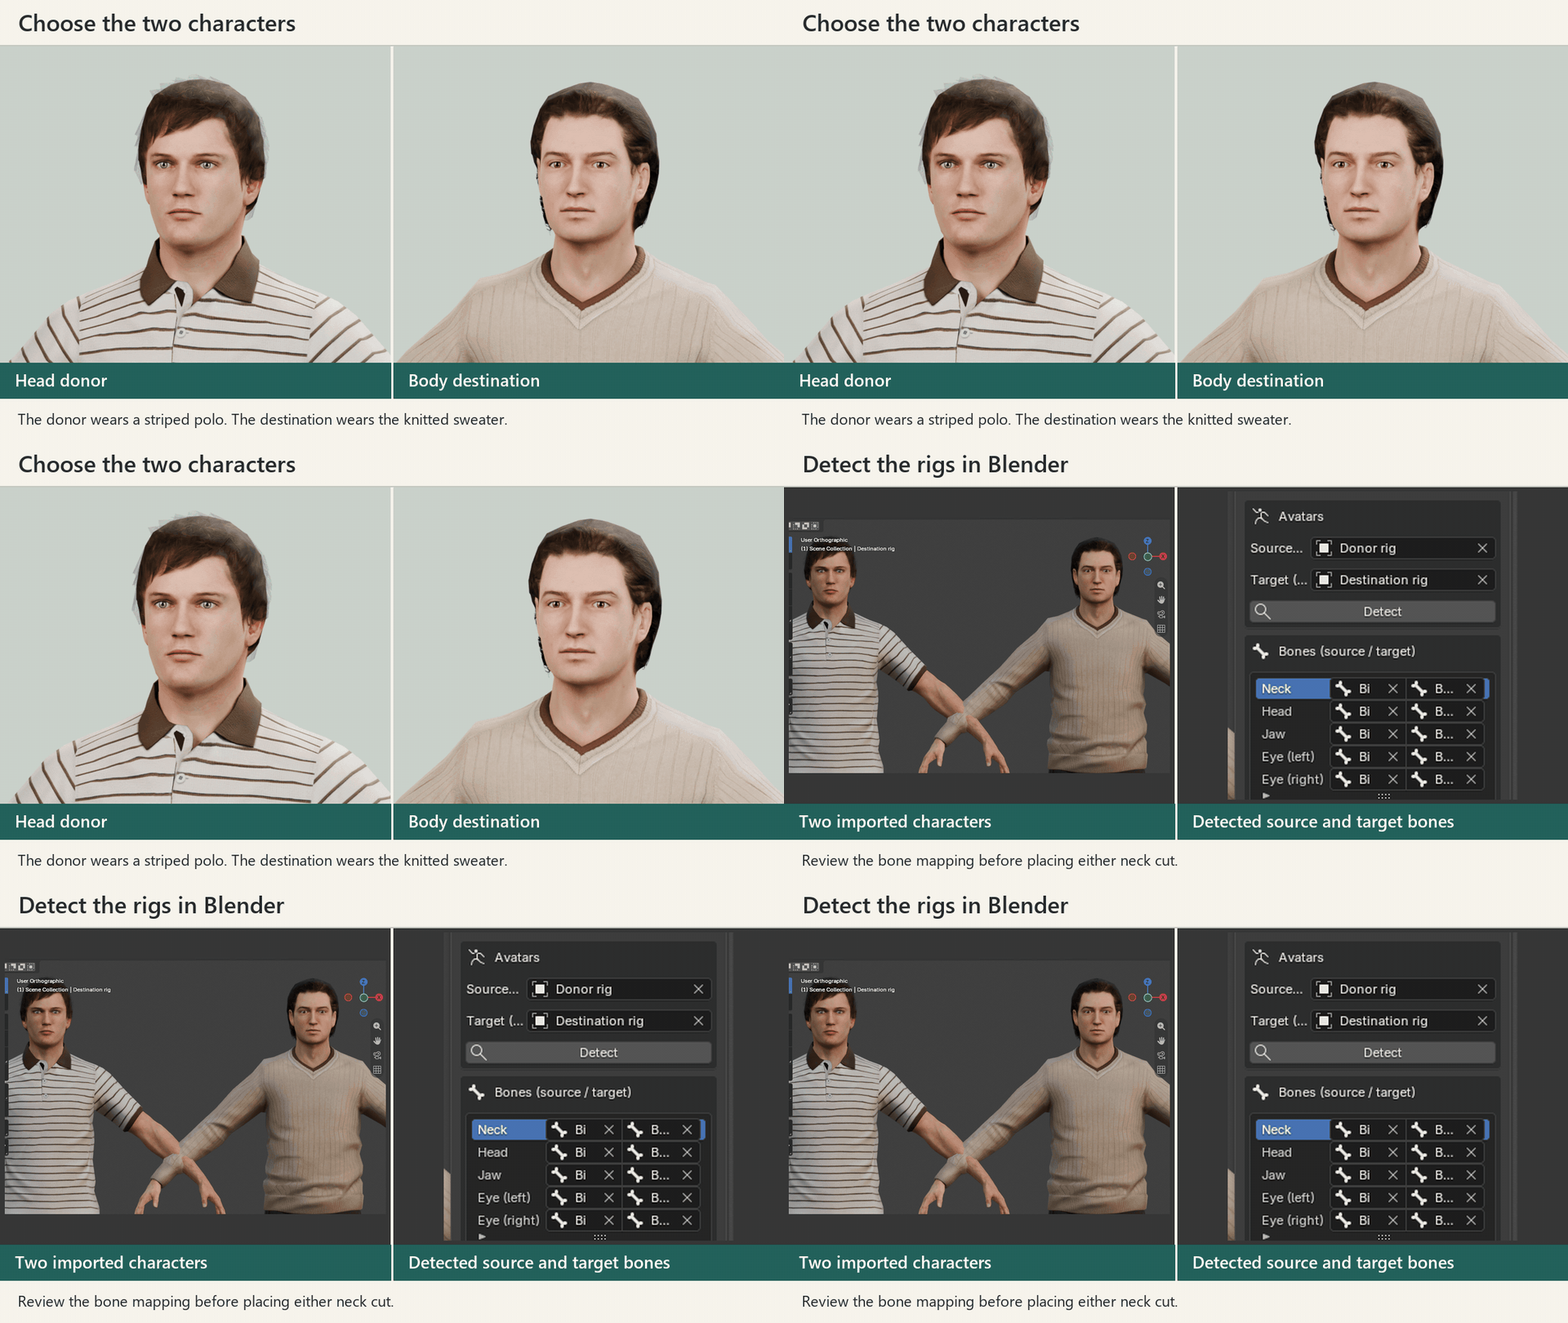
Place the neck cut
Inspect both preview rings. Use automatic placement or adjust the two cuts independently before fitting the neck.
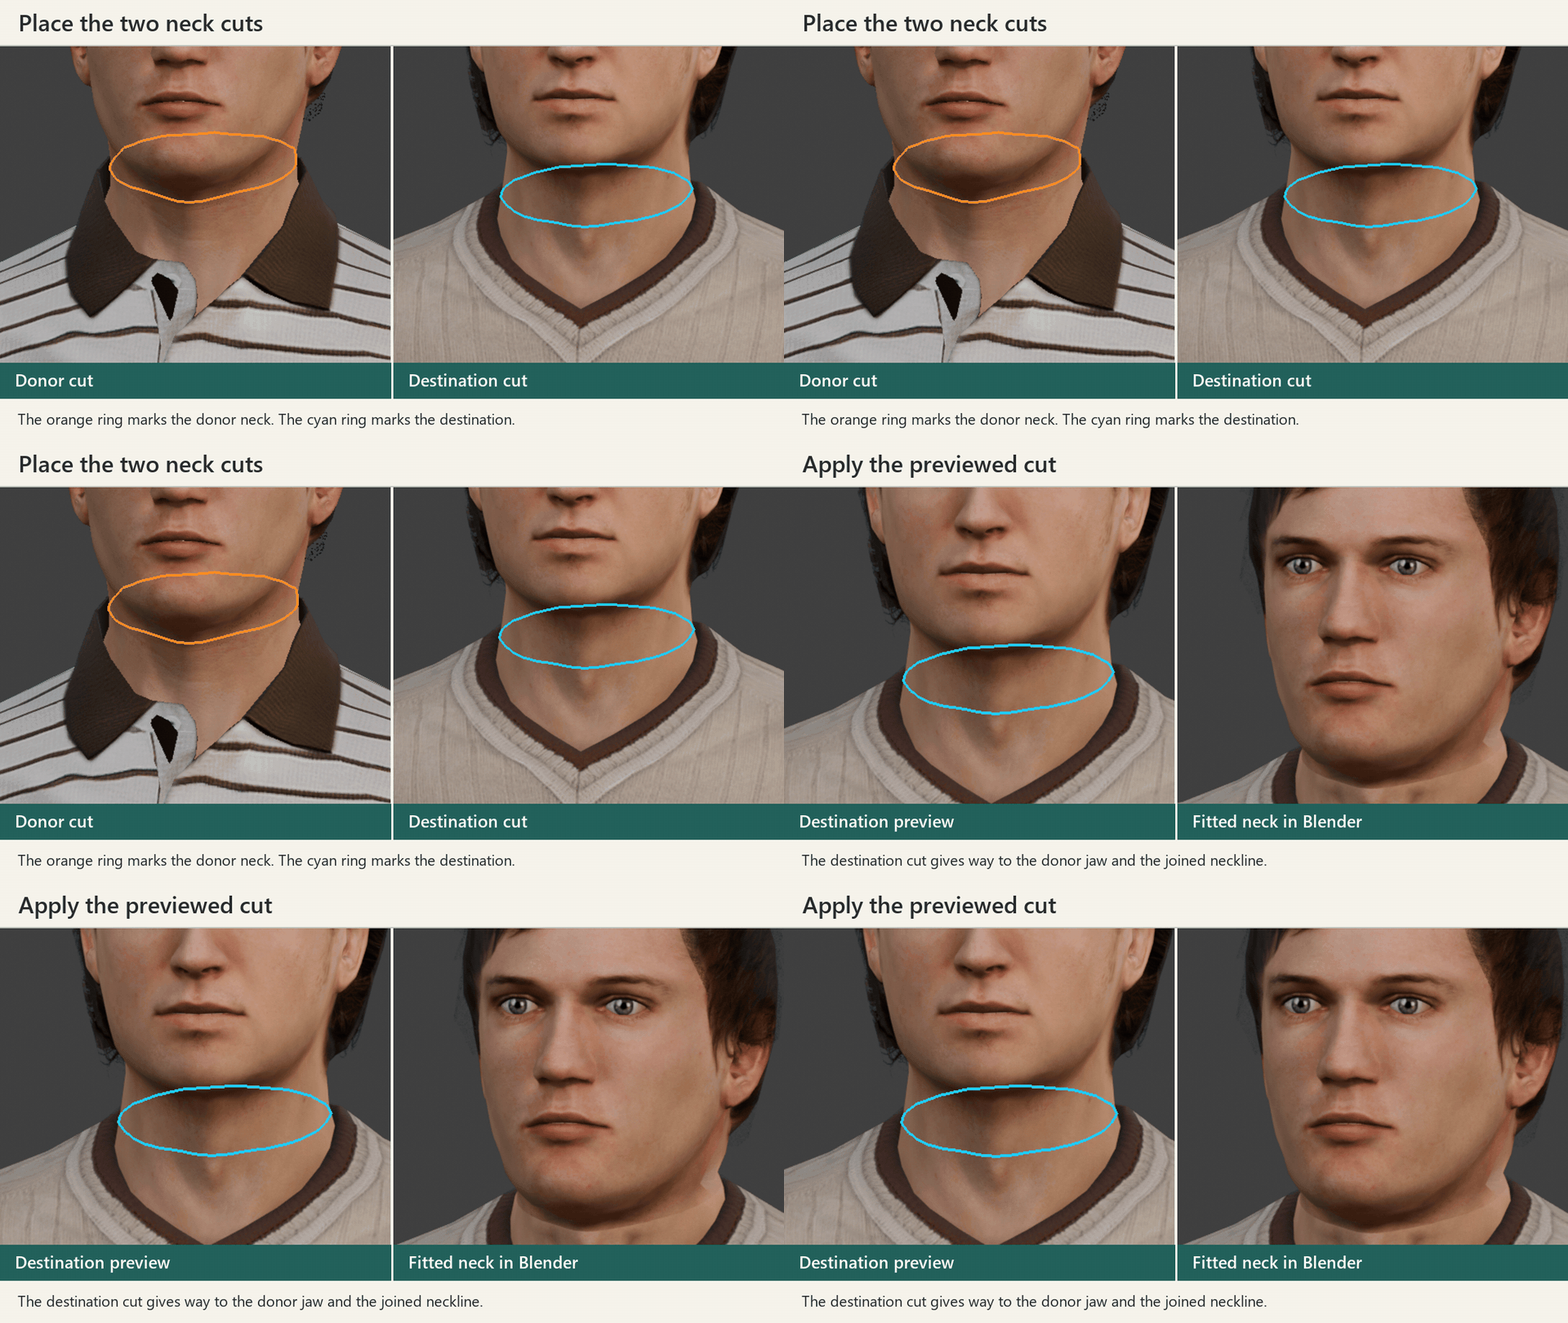
Inspect the join in motion
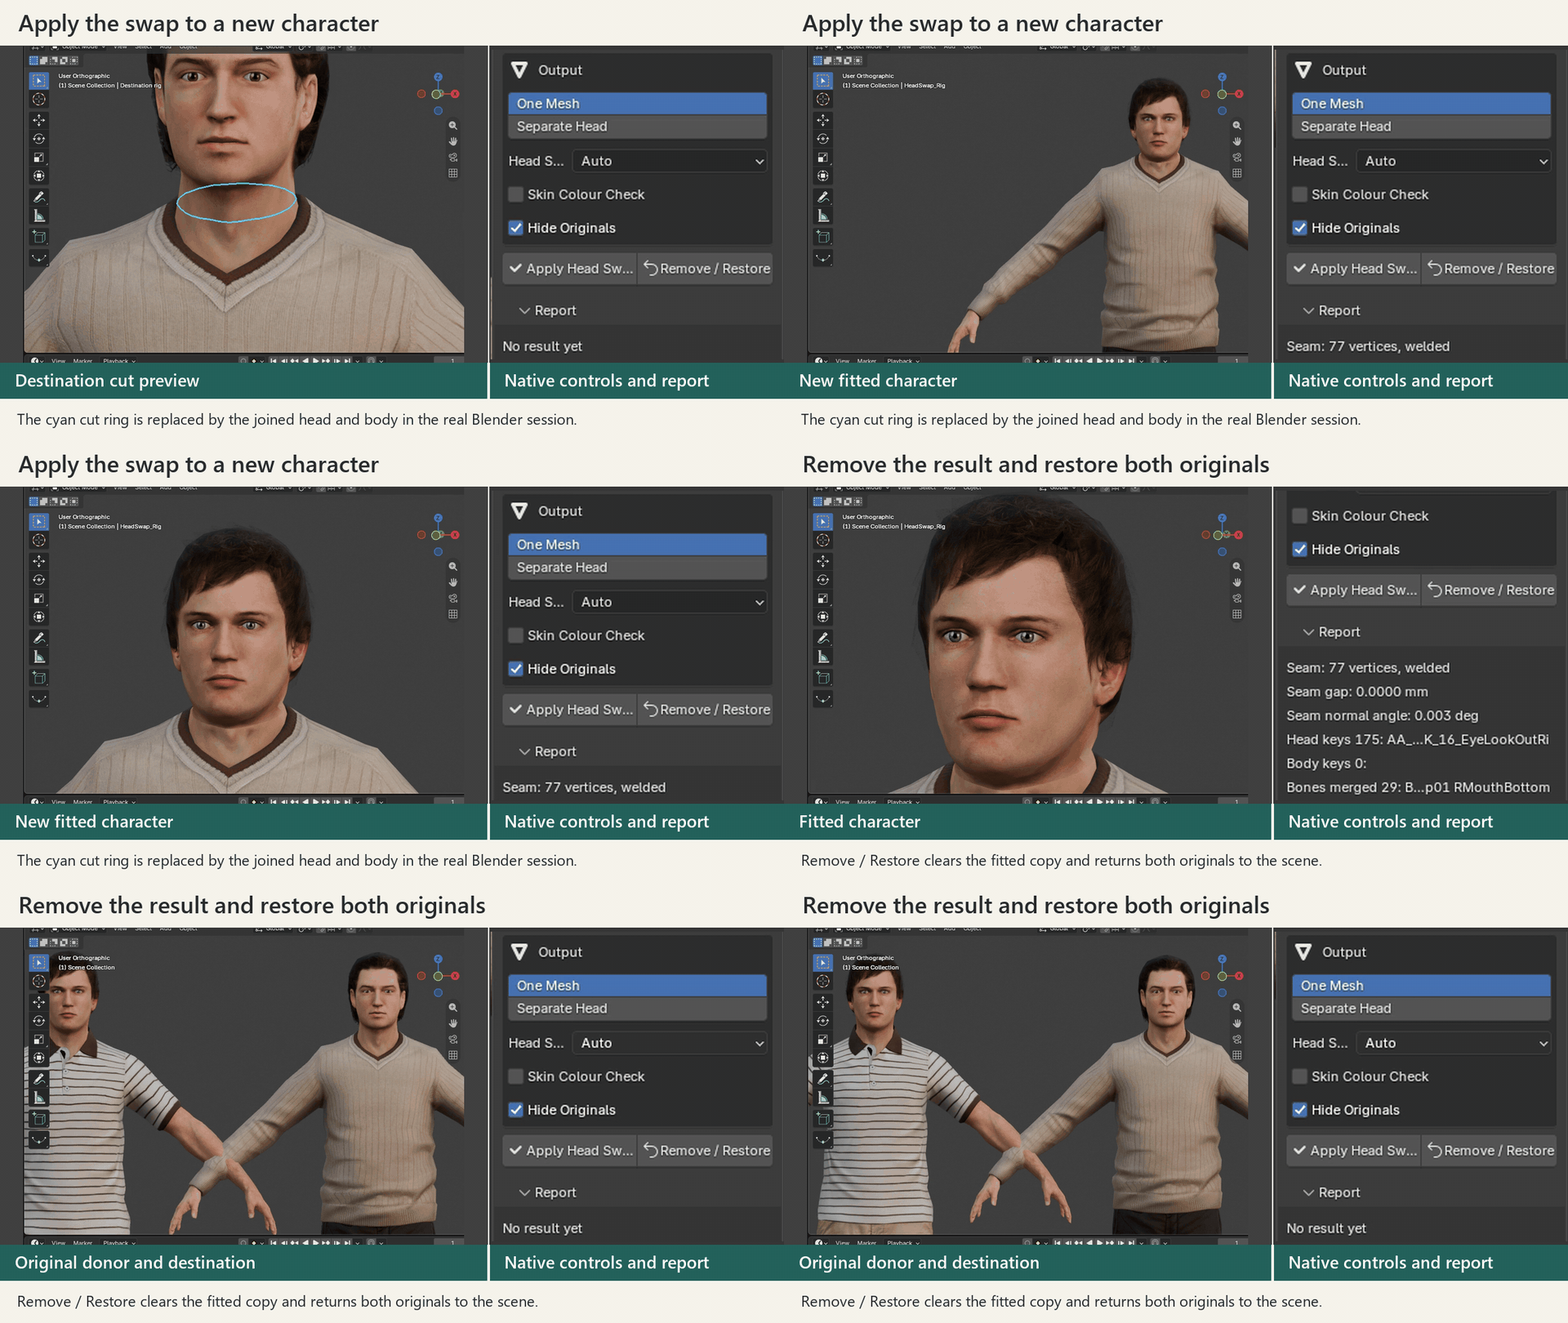
Apply the swap to a new result. Inspect the shape and shading of the neck as the head turns. Welded output joins the two sides into a shared ring.
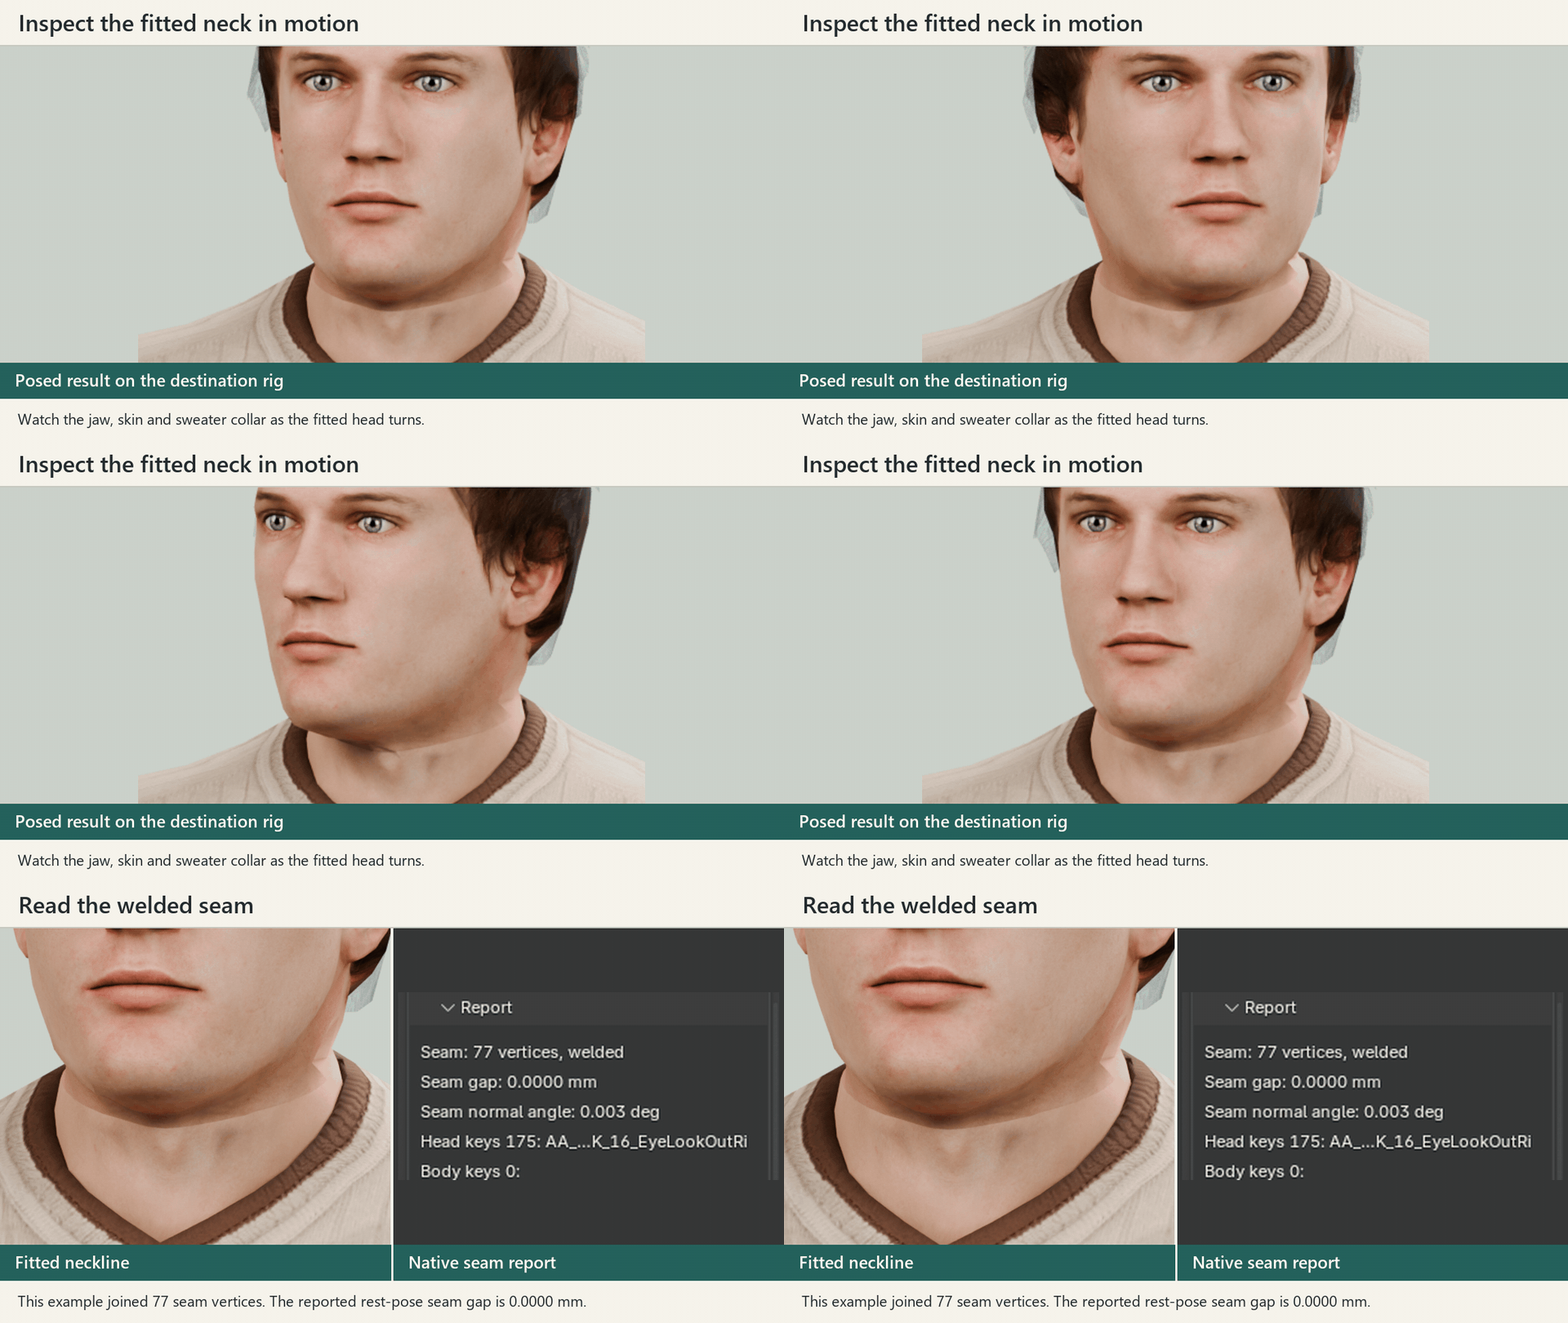
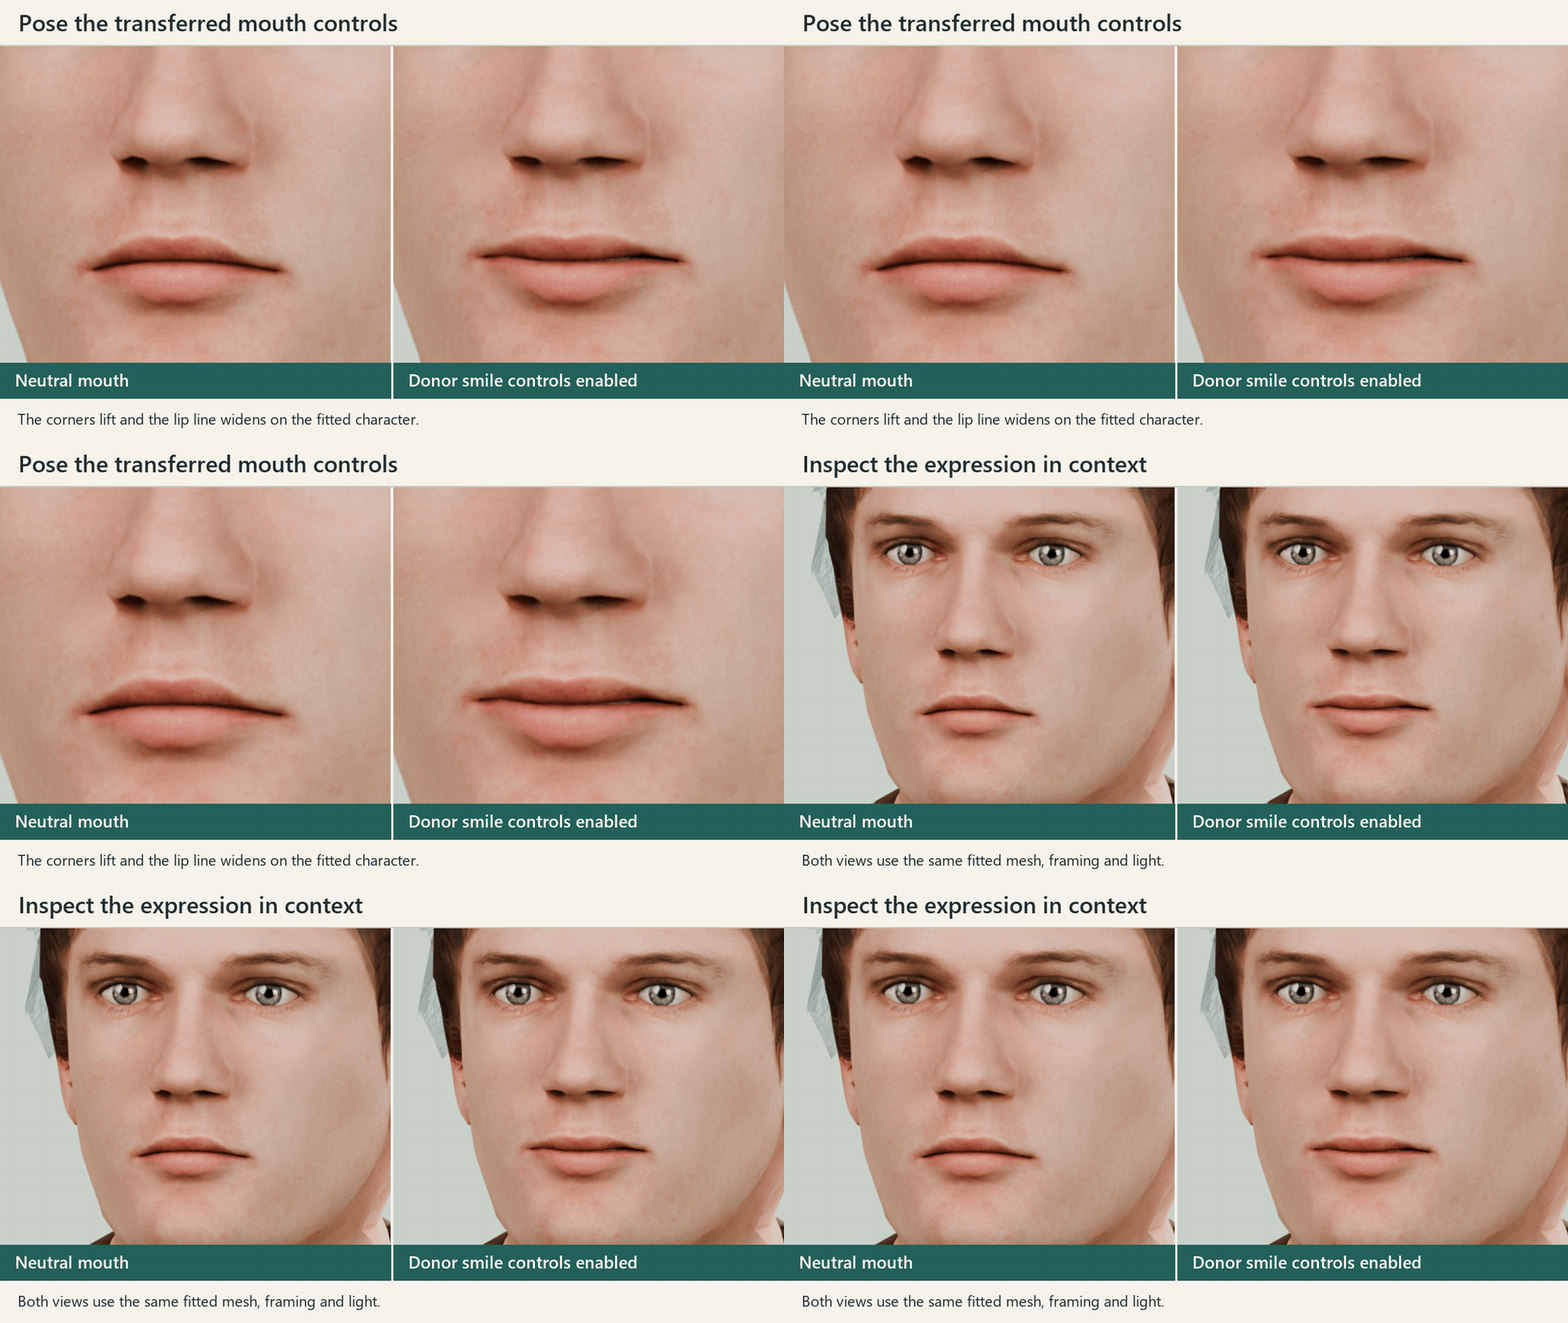
Keep the donor’s facial controls
Head and body shape keys transfer to the result. A falloff around the neck lets a facial expression move without pulling the join open.
Check the result and restore
The report records the seam and transferred keys. Remove / Restore brings the originals back for another fit.
Watch the full workflow
Preparing a pair
Starting point
Two local, rigged humanoids with identifiable head and neck regions. Review the detected bones and neck cut on each input.
Output
Choose a welded mesh or separate head and body objects. Copies and a destination rig are created in the scene.
Materials
The product retains the source materials. A skin-colour check helps identify a mismatch between the donor and body. Different textures may require artist adjustment.
Facial setup
Facial bones and supported shape keys are transferred. Inspect expressions, eye motion, weights and the neck in the poses you need before export.
Exporting an animated result
Select the fitted mesh and its result armature. Confirm which action will be exported, then check the character’s dimensions and motion after import. The guide includes the tested FBX and glTF workflows.